Sunday, June 8, 2014

DIY | Watercolor Birthday/Thank You Card

Sunday, June 8, 2014
New DIY How-To! 
Recently, I've had to thank a friend who gave me a lovely fluffy blanket as a good-bye gift, and I couldn't find any nice cards or stationary to write a thank-you note on. And so, I decided to DIY it and I made this beautiful, SUPER easy watercolor card. It's great and really can be used for anything, from birthday wishes to congratulating notes - just switch out the message you write!

What you need:

  • plain white cardstock
  • white colored pencil
  • watercolor paints & paintbrush
  • a cup of water
  • A bright area to write
Steps:
  1. Fold your piece of cardstock in half, hamburger-style to make a blank card.
  2. Using your white colored pencil, write your message on the front of the card. 
    • Make sure to go over your letters multiple times - in fact, thick block letters will probably show up the best. 
    • You also want to write in a bright, lighted area, because the light will help you see better what you're writing. 
  3. Dip your paintbrush in the water & the paint, then paint over your message. 
  4. Use two different (or even three, if you want) colors interchanging around your message. You want the colors to mix together to give it that "watercolor effect." Keep on painting on thin layers of paint to make a dark enough background so that the message can show, but try not to heap on too much color over the letter. 
  5. Write you message and there you go - your finished product! 

Isn't that so cute? Also, inadvertently the water had turned this lovely shade of lilac.

Anyways, thanks for reading and please contact me if you have any questions! Good luck!

xx Jen

Friday, June 6, 2014

DIY | No Sew Denim/Lace Shorts

Friday, June 6, 2014
This is an old post from my neglected freshman blog that I have revamped to repost, and so here you go!

For me, summers here in Texas mean two things: boredom and hot weather. A lot of my friends and I spend the time cutting up, bleaching, dying, and embellishing clothes. And, one of my (few) success stories is this cute pair of no-sew denim/lace shorts, and I'm sharing the process of how I did it!

What you need:

  • plain high-waisted shorts
  • lace fabric
  • washable pen/marker
  • scissors
  • (not pictured) hot glue gun

Steps:

  1. Align lace fabric on one side of the shorts. 
  2. With the washable marker, trace the pockets and along the top edge of the frayed hem. 
  3. Cut along the lines you made.
  4. Do the same to the sides of the fabric (trace and cut)
  5. Now it should look something like this.
  6. Take the fabric and wash off any blue lines you see. 
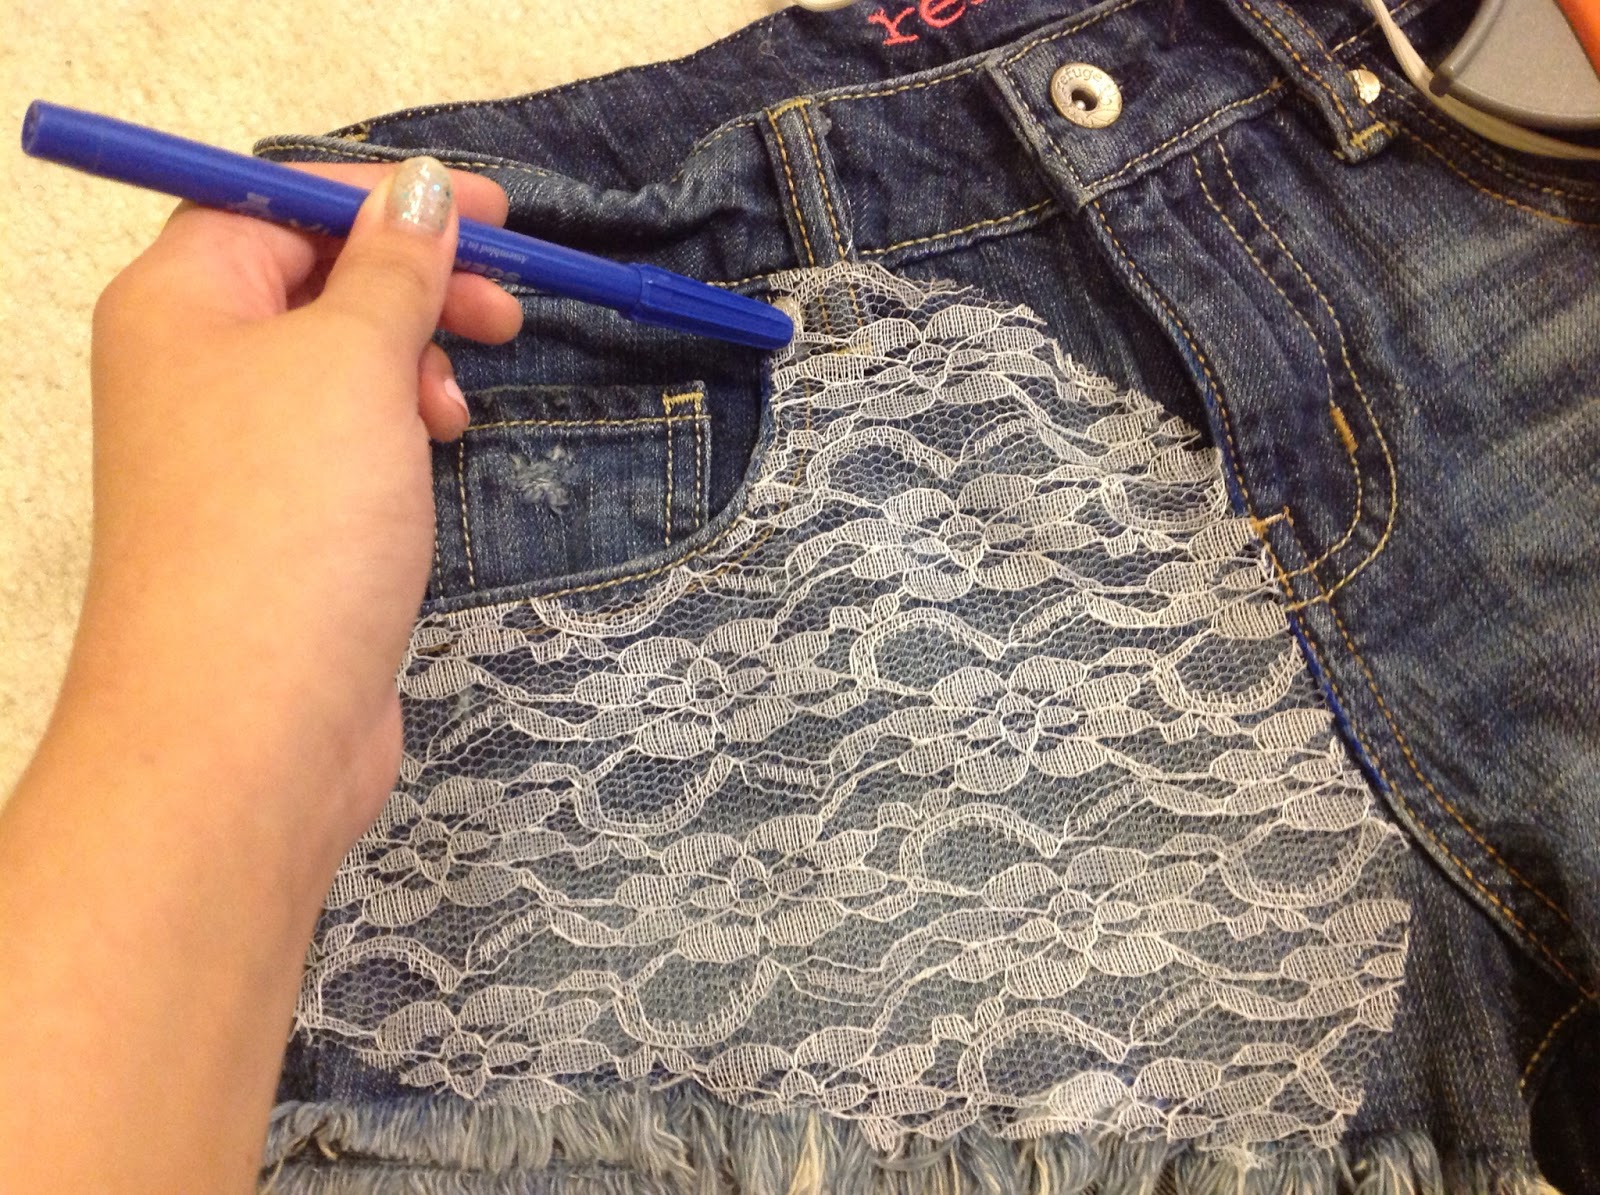
  7. Time to hot glue! I did it strategically by gluing under the solid areas of the lace fabric. I have included a diagram on where I hot glued it: 

    Diagram of where to hot glue. Red dots mark the spots.
    I'm using the marker to add pressure on the fabric
  8. Cut out a little square on the top edge of the fabric for the belt buckle. 
And here's the finished project!
          

Good luck, and ask me if you have any questions!

xx
Jen

Thursday, June 5, 2014

Welcome...

Thursday, June 5, 2014
Welcome to this blog! You can read more about the brief creation myth of this blog on the "About" page. Expect some stellar DIY crafts, recipes, life updates, study tips, and more in the future, all of which will be written when I feel like it. Cool. thanks. Jen
Morning, Jen! © 2014